Monday, July 19, 2010

Before and after: Bedroom, Spare room and hallway.

Bedroom Before:


Bedroom after:

New skirting boards and new brushed stainless steel door knobs.


Spare room before:


Spare room after:

Hallway before:


Hallway after:

Friday, June 18, 2010

Look, I have floors!

These pictures are of the floorboards before they were sanded and polished.

Hallway:

Main bedroom:
I had the rooms rewired while I was at it... EVERYTHING was covered in the red dust you see below:

Thursday, June 17, 2010

What to do with the "spare room"?

My spare room "before" (painting and installing new floors):

Although I bought a 2 bedroom cottage, I only really NEED 1 bedroom. I'm very mindful of the fact that if I leave this room as a "spare room" it will turn in to a junk yard - I've seen this happen in many homes. So considering that my kitchen/dining area is so small, I have decided to turn this room into my living room - my living room in turn will serve as my dining room.

Sunday, March 14, 2010

White is the new purple...

Before:


After:


It still needs another coat or two of shiny white paint... but it's looking much better. I used Dulux Aquanamel High Gloss in Vivid White in case anyone out there is wondering.

Thursday, March 11, 2010

Look, no floors!

So I have decided to replace all of the old floorboards.

Hallway:

Main bedroom:


Spare room:

As with all major renovations, an unforeseen expense was the need to replace all of the joists in the second bedroom/spare room as the originals were an inferior timber and had old termite damage. This fact reassures me that I made the right decision.

I can't even begin to tell you about how dusty it got!

Tuesday, March 9, 2010

My new friends... Selleys Spakfilla Rapid and Dulux 1 Step Prepcoat.

My first two purchases at Bunnings (not counting the numerous steel spatulas, paint brushes and rollers) were Selleys Spakfilla Rapid and Dulux 1 Step Prepcoat.

The spakfilla filled the gazillion nail holes in walls - the previous owner had hung pictures and paintings RANDOMLY EVERYWHERE! I also had to fill a number of cracks. Lucky for me, the crack pictured below is the worst there is - not bad for a house over 100 years old.

The crack:

No more crack:

A few of the gazillion nail holes - these are above THE STOVE of all places:


Painting my house would not be possible without Dulux 1 Step Prepcoat. No more dark purple feature wall:

And this is the second bedroom - primed and ready to be painted:

Priming my gorgeous burgundy wall in the hallway:Although the painting was hard work, it very rewarding, and doing it myself (with the help of my wonderful boyfriend) saved me a lot of money...

Tuesday, March 2, 2010

What lies beneath... my crusty old carpet.

I knew that there were floorboards underneath the carpets when I bought my house and a building inspection confirmed that the floor was stable etc. Unfortunately a visual inspection to assess the boards' condition was not possible due to the installed carpets.

The day after settlement, I went to my new house armed with a crowbar - not only to find out what lies beneath, but also to completely remove the crusty old (dog smelling) carpets from the entire house.

My dreams of beautiful old Jarrah floorboards were shattered upon discovering damaged and stained, half unattached planks ( :'( )


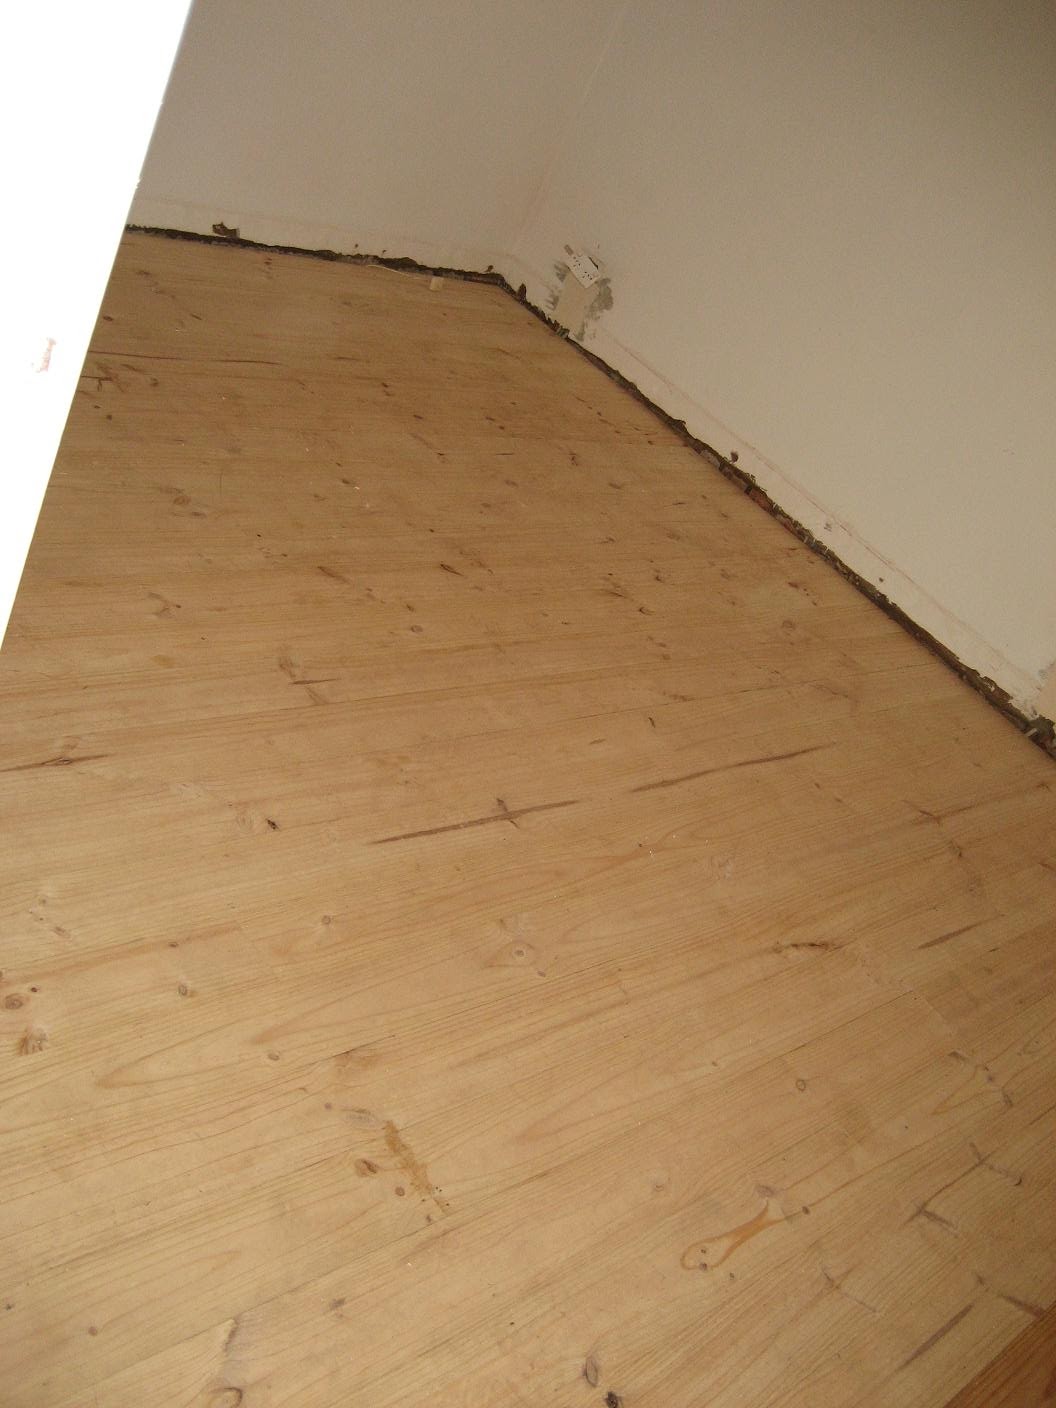
My carpenter said that they *might* come out "alright" after a sand and polish, but the problem was that almost half of the boards in the spare room, a good portion of the boards in the main bedroom and almost all of the boards in the hallway needed to be replaced due to warping and water (read: dog pee) damage.

What to do?

My options were to:

  • install a floating floor system over the exisiting boards; or
  • replace the boards that needed to be replaced and then paint all the boards white; or
  • replace all the boards and then sand and polish.

Saturday, February 27, 2010

Inspiration: White Floorboards

The best thing about old houses with crusty old carpets, are the beautiful old floorboards underneath the carpets... if you're lucky.

If my floorboards proved to be not so beautiful (like for example discoloured or slightly damaged), I have always loved the idea of painted white floorboards:


Credits:

First four images: www.livingetc.com
Last image: www.apartmenttherapy.com

Thursday, February 25, 2010

It's all in the detail...

NB: these are BEFORE shots... it's important that you understand this!

My decorative hallway arch:


This is one of the vents in the bedroom:


And this is the vent in the lounge room:

Yes, purple everywhere!


A curious pipe in the corner:

Apparently it's how "they" built houses "back then" ... and if you're wondering, no, I'm not game enough to fiddle with it.

Ugly vintage lamp anyone?

The vendor even left one of her pets behind! Meet my newly acquired FURRY RAT door stopper:

I do like my stained glass window though:

... but rest assured that the curtains are history.

Opening the door to a house of my own...

A picture of me unlocking the front door for the first time after settlement:

Months of NOT buying pretty dresses and killer heels had finally paid off! Mortifyingly, I have continued this trend...

Wednesday, February 24, 2010

My little house... cute on the outside, horror colour scheme on the inside.

The first time I walked up to my little house - I fell in love. I had a feeling that I had found "the one".

Unfortunately the colour scheme on the inside left a lot to be desired.


In the main bedroom there was a dark purple feature wall and the rest of the walls a yellow cream colour, whilst the frames and skirtings were cream.


The second bedroom/spare room walls were a putrid shade of grey with cream door frame and skirtings.


The kitchen had bright lilac purple walls (same colour as the lounge walls), bright burgundy hanging cabinets, beige floor cabinets with brown and pink flecked fake stone bench tops with grey-ish white lino. The tiles, a grey beige.

To "tie is all together" one side of the hallway was a similar shade of bright burgundy to that of the hanging cabinets in the kitchen.

Through out the whole house the carpets were a dirty dusty pink colour.

I was told I would get used to the colours...

Monday, February 22, 2010

What I have to work with...

I was very lucky to have purchased a "delightful row cottage" close to the CBD. It's not my dream house by any means, as it's a bit too small, but it's the perfectly sized property for my first project.

Here are the plans:


This property ticked *almost* all of my "want" boxes when looking to buy my first house. I didn't hesitate when putting in my offer.

It features:
• character (the main part of the house was built in 1900);
• two bedrooms;
• a little courtyard;
• off-street parking for two cars (one under cover!);
• air conditioning (be it evaporative); and
• high ceilings.

Champagne taste, sparkling budget...

I have champagne taste, but a sparkling budget - or rather a taste for Le Corbusier on an IKEA budget...

I'm living in hope that that my mortgage doesn't get in the way of my renovation dreams and decorative ideas!

Follow me on my journey to make my new house a home.